How to Build A No-Code Website Using Webflow
Building a website is a huge undertaking; the hiring costs of developers and the time that goes into development can strain a young company, which is why many e-commerce businesses opt for no-code websites.
No-code development improves how enterprises build applications by helping them construct complex workflows without spending time and effort writing code. This approach can offer businesses a competitive advantage. This article will explore all you need to know about no-code development and provide an informative guide on how to build a no-code website using Webflow.
What is No-code Development?
No-code development is expanding opportunities for businesses by creating a way for them to build applications through a customizable, cost-effective, and secure solution.
No-code applications are visually-driven and are as simple as selecting ready-to-use templates or drag-&-drop, allowing users to build mobile apps or websites without writing a single line of code. This process enables enterprises to develop products based on their creative ideas rather than being confined to their technical expertise.
Since the pandemic, there has been an increased demand for no-code due to the benefits it offers businesses looking to build an e-commerce store. These benefits are proving to be an immediate solution to the shortcomings of traditional development for small and large companies alike:
- Fast & agile - In today's e-commerce market, consumers expect quick delivery and a seamless product experience across all platforms. Developers struggle to implement the newest features in time to keep up with demand and maintain their competitive edge. No-code is the best option to turn around project timelines and optimize product development. For instance, a simple app takes no more than a few hours to build with no code, whereas traditional development timelines can span months and sometimes get extended from there.
- Easy-to-use - One of the unique advantages of no-code is that it’s almost effortless. It’s accessible and intuitive and mainly involves replicating templates or using drag-&-drop features, which means prior coding knowledge isn’t necessary. Also, because it’s visual, users can view projects and make changes in real-time.
- Cost-effective - The hiring costs for bringing on specialized engineers and designers to build a traditional website and handle recurring technical maintenance and support can take a toll on company funds and resources. With no-code development, platforms like Webflow allow companies to build applications without worrying about these kinds of costs. Similarly, it eradicates the dependency on legacy code, allowing users to modify changes without hiring a new team of engineers to perform time-consuming reverse engineering. They can also work alongside existing legacy systems, allowing your developers to keep what works and change what doesn't.
- Flexible - Sometimes, businesses have to change their brand strategy or target market to focus on a different industry. With no code, companies don’t necessarily have to engage a developer before making these kinds of changes. You can decide whether or not a particular product will work for another target and make the transition without incurring heavy expenses.
Why Webflow?
For new businesses, the focus is generally on delivering your products to your target market. After development, startups often need more resources to maintain and market their website. Webflow allows businesses to optimize their web presence as they grow.
Webflow is a web design tool, Content Management System (CMS), and hosting platform designed to improve visual engagement without coding. This platform allows users to design, build, and launch applications visually through a simple drag-and-drop interface. Many startups have turned to Webflow for their marketing ideas because of its comprehensive features:
- Speed: Webflow's Content Delivery Network (CDN) optimizes the speed of your site, regardless of your customer's location. For startups, website speed equates to an excellent user experience. The digital age has facilitated the need for speed, as customers expect to get results immediately. There is a high likelihood that a user will abandon their customer journey if a website has a slow response time. Webflow uses the fastest hosting technology, which improves loading time and enhances overall speed. For this, we recommend using high-quality HTML and CSS generated on Webflow.
- Live Prototyping: If you have experience with web design, you know how challenging it can be to visualize a live website from mockups. While static mockups give a graphic representation of the website, they don't interpret the interactive elements that make it unique. Webflow introduced live prototyping to allow businesses to experience the design before signing off. This way, the real user experience is clear before the website goes live.
- Reduced Development Time: Webflow reduces development times and slashes the project schedule to free up billable hours for marketing. Webflow designs are flexible and responsive; for instance, designs built for the desktop will automatically translate to tablet and mobile options. This allows for easy and quick adjustments to mobile variations.
How to Build a No-code Website Using Webflow
One of the great things about Webflow is that setting up an account is free, and users can sign up using a google account. Here, we'll walk you through a step-by-step guide on building your website on Webflow.
Pick a template
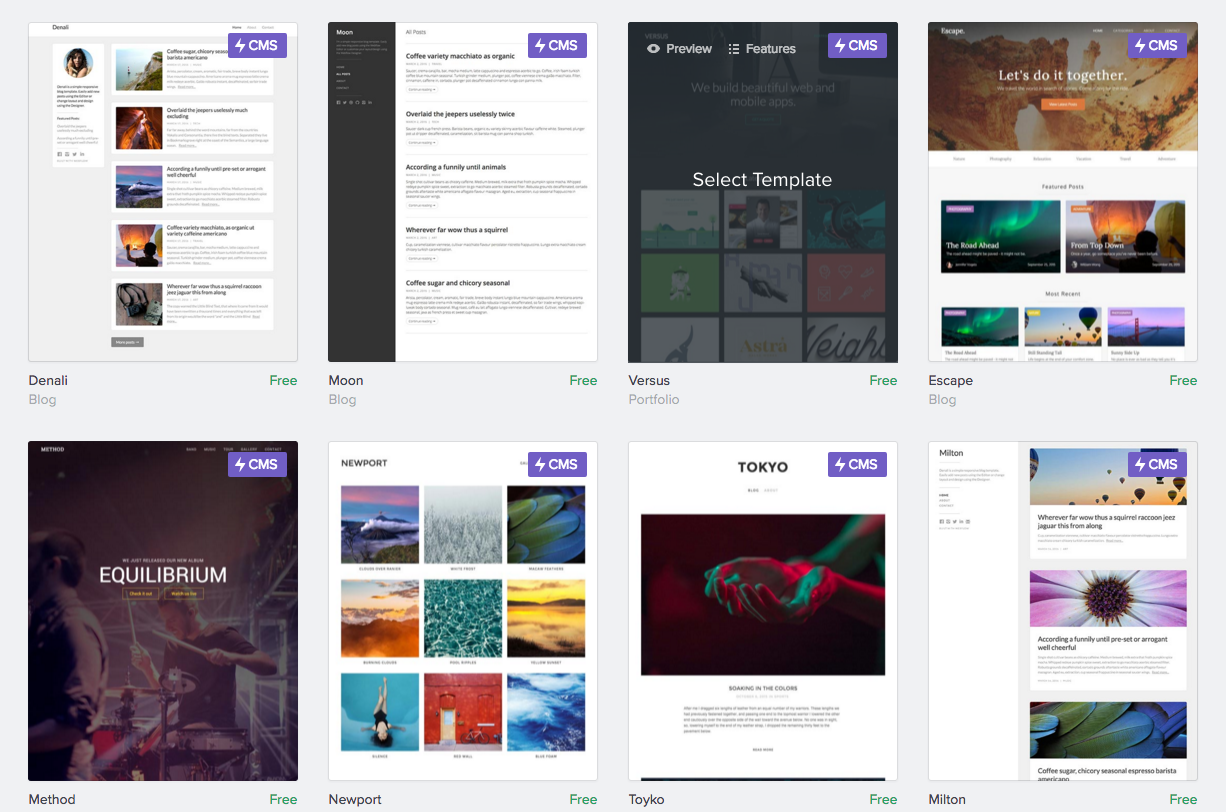
After creating an account, you can begin your project right away. You can select a blank canvas or choose from the available templates. Webflow categorizes templates based on their different types e.g. portfolios, blogs, fashion, food, etc. Start by picking a template that represents your brand style. After choosing a template you like, you can preview the pages built into it to see an overview of its added features and examples of other websites using that template.
Add elements
The element panel categorizes different features that play specific roles — for example, the Layout focuses on sectioning the design. Also, you can create forms by adding an element from the Forms category. There are three ways to add elements from the Add Elements Panel to the page you're working on:
- Click to add in place:
This is a quick way of adding an element. The first step is to select an existing part on the page, then click on the plus (+) sign to open the Add Elements Panel. Click on the element you want to add, and the new feature will be added to your page. If you don't select where on the page you want to add the element before clicking on the icon, it will be added at the bottom of the page inside the Body element. You can then click and drag to position it anywhere.
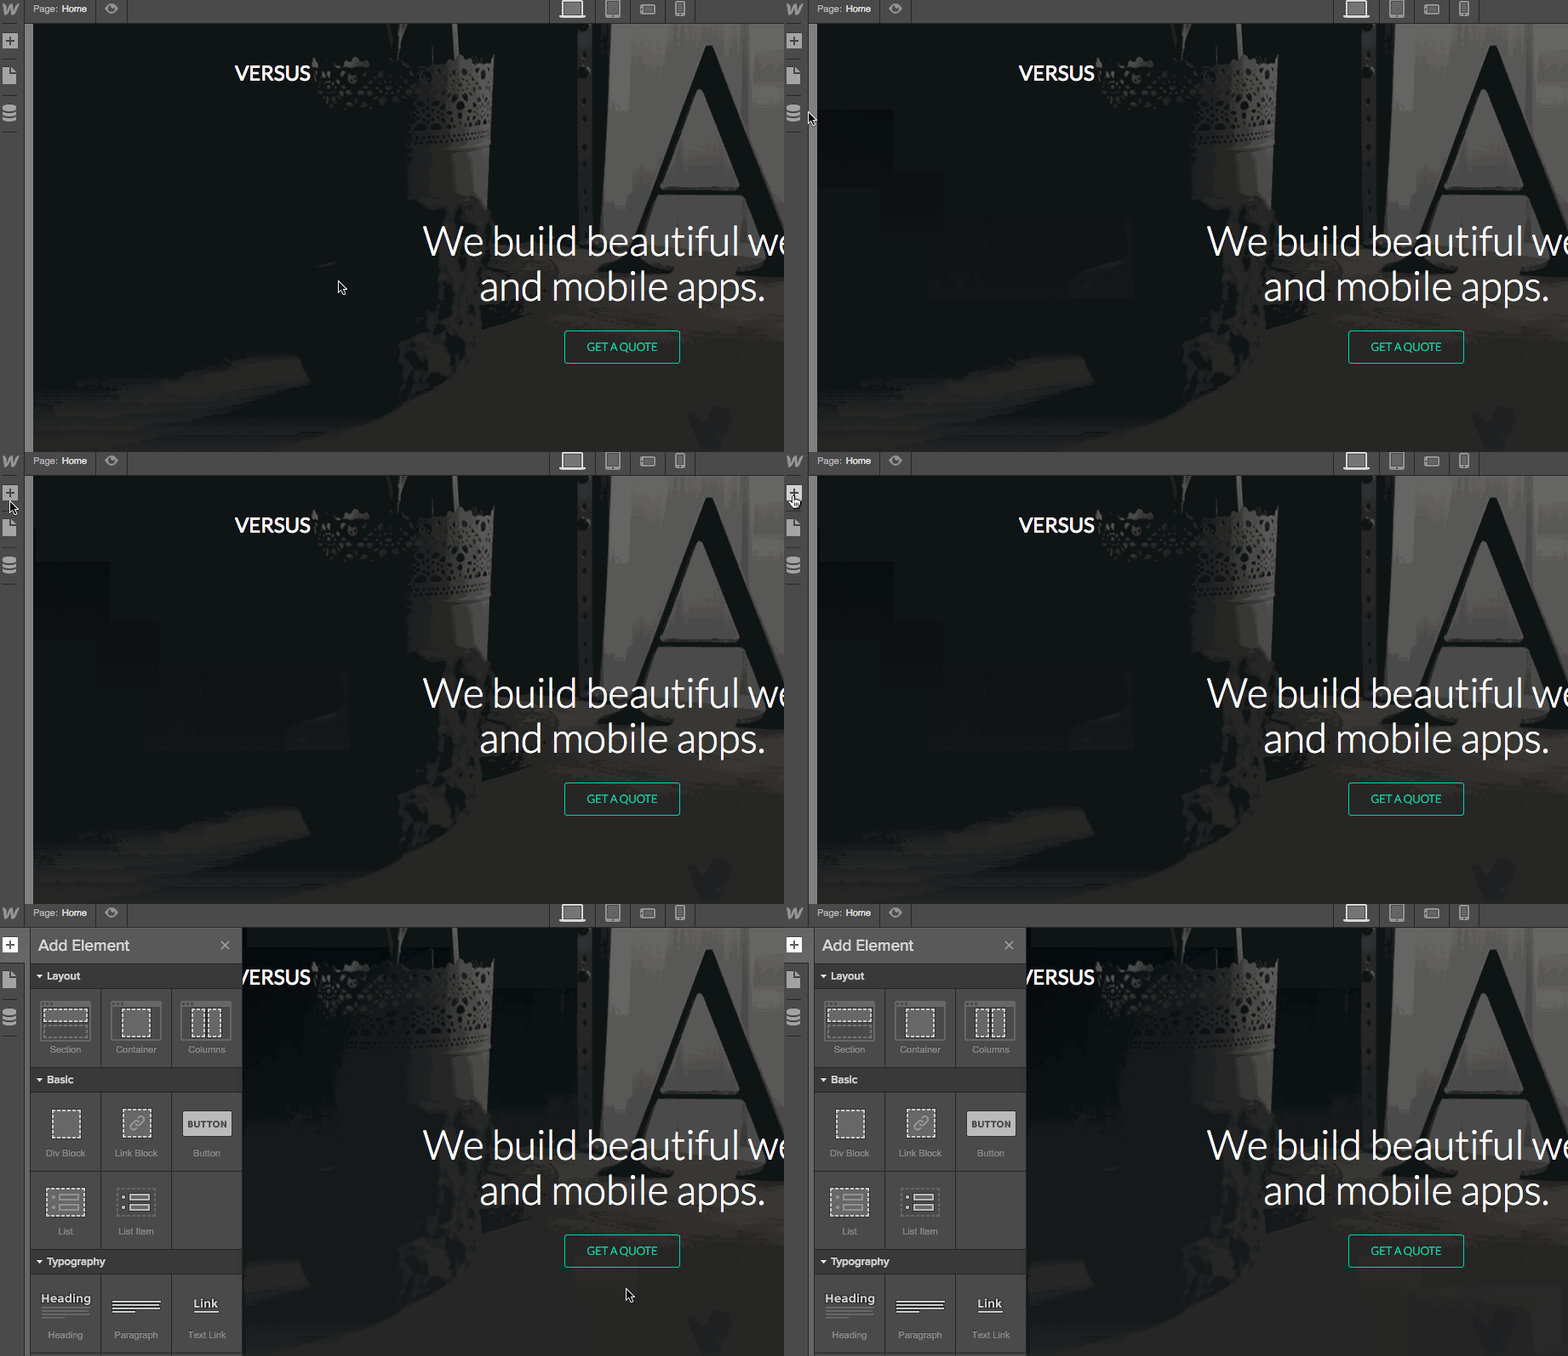
- Drag onto the canvas:
Another way to add elements is by dragging the element from the Add Elements Panel and dropping it onto the Canvas. As you do this, an orange indicator will highlight where on the page you're placing the element, while the blue indicator shows the position of the added element.
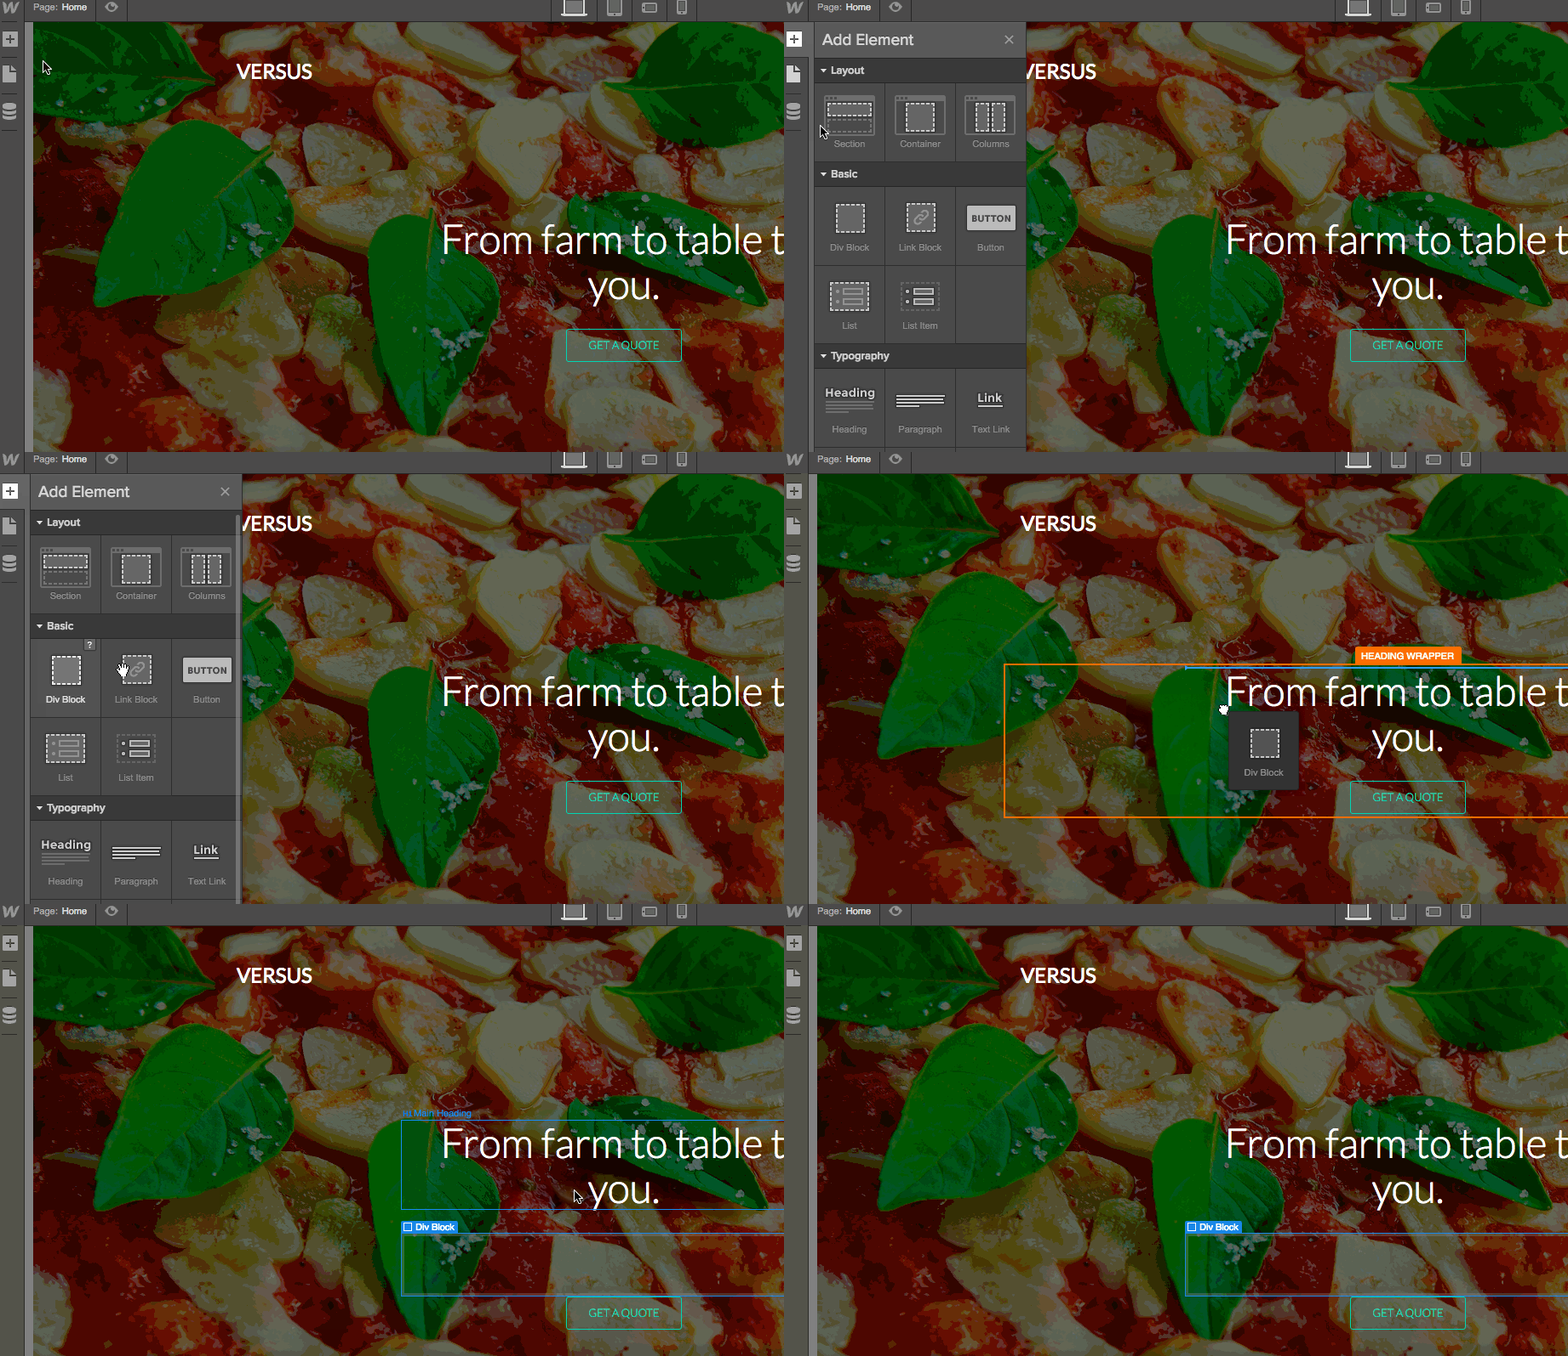
- Drag into the Navigator:
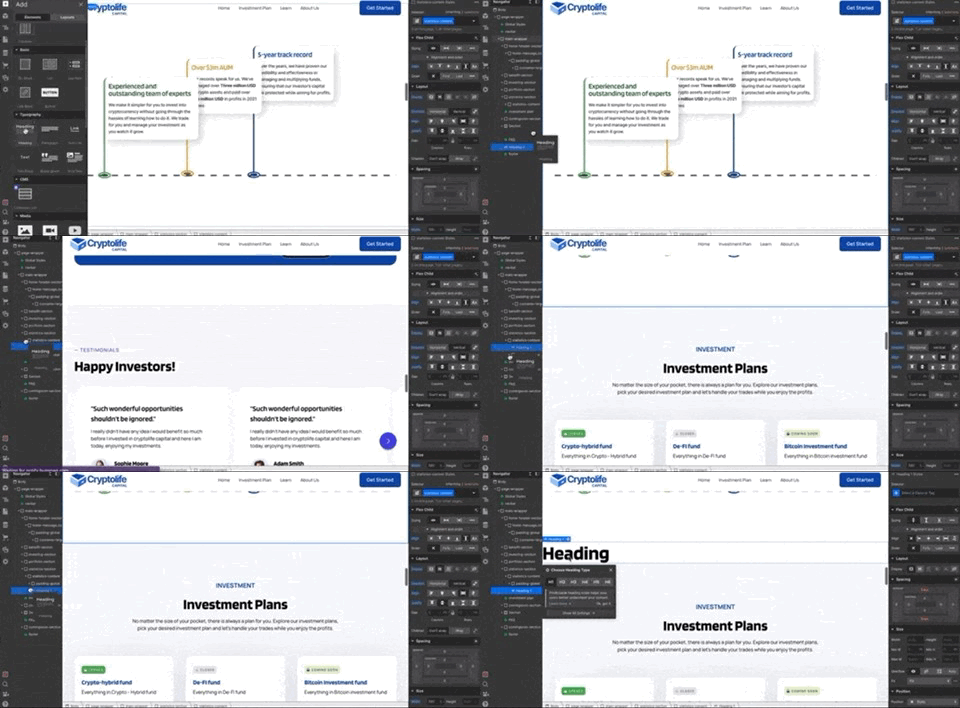
In the Navigator, you can see the complete visual outline of your page. You can accurately drag and drop an element from the Add Elements Panel into the Navigator.
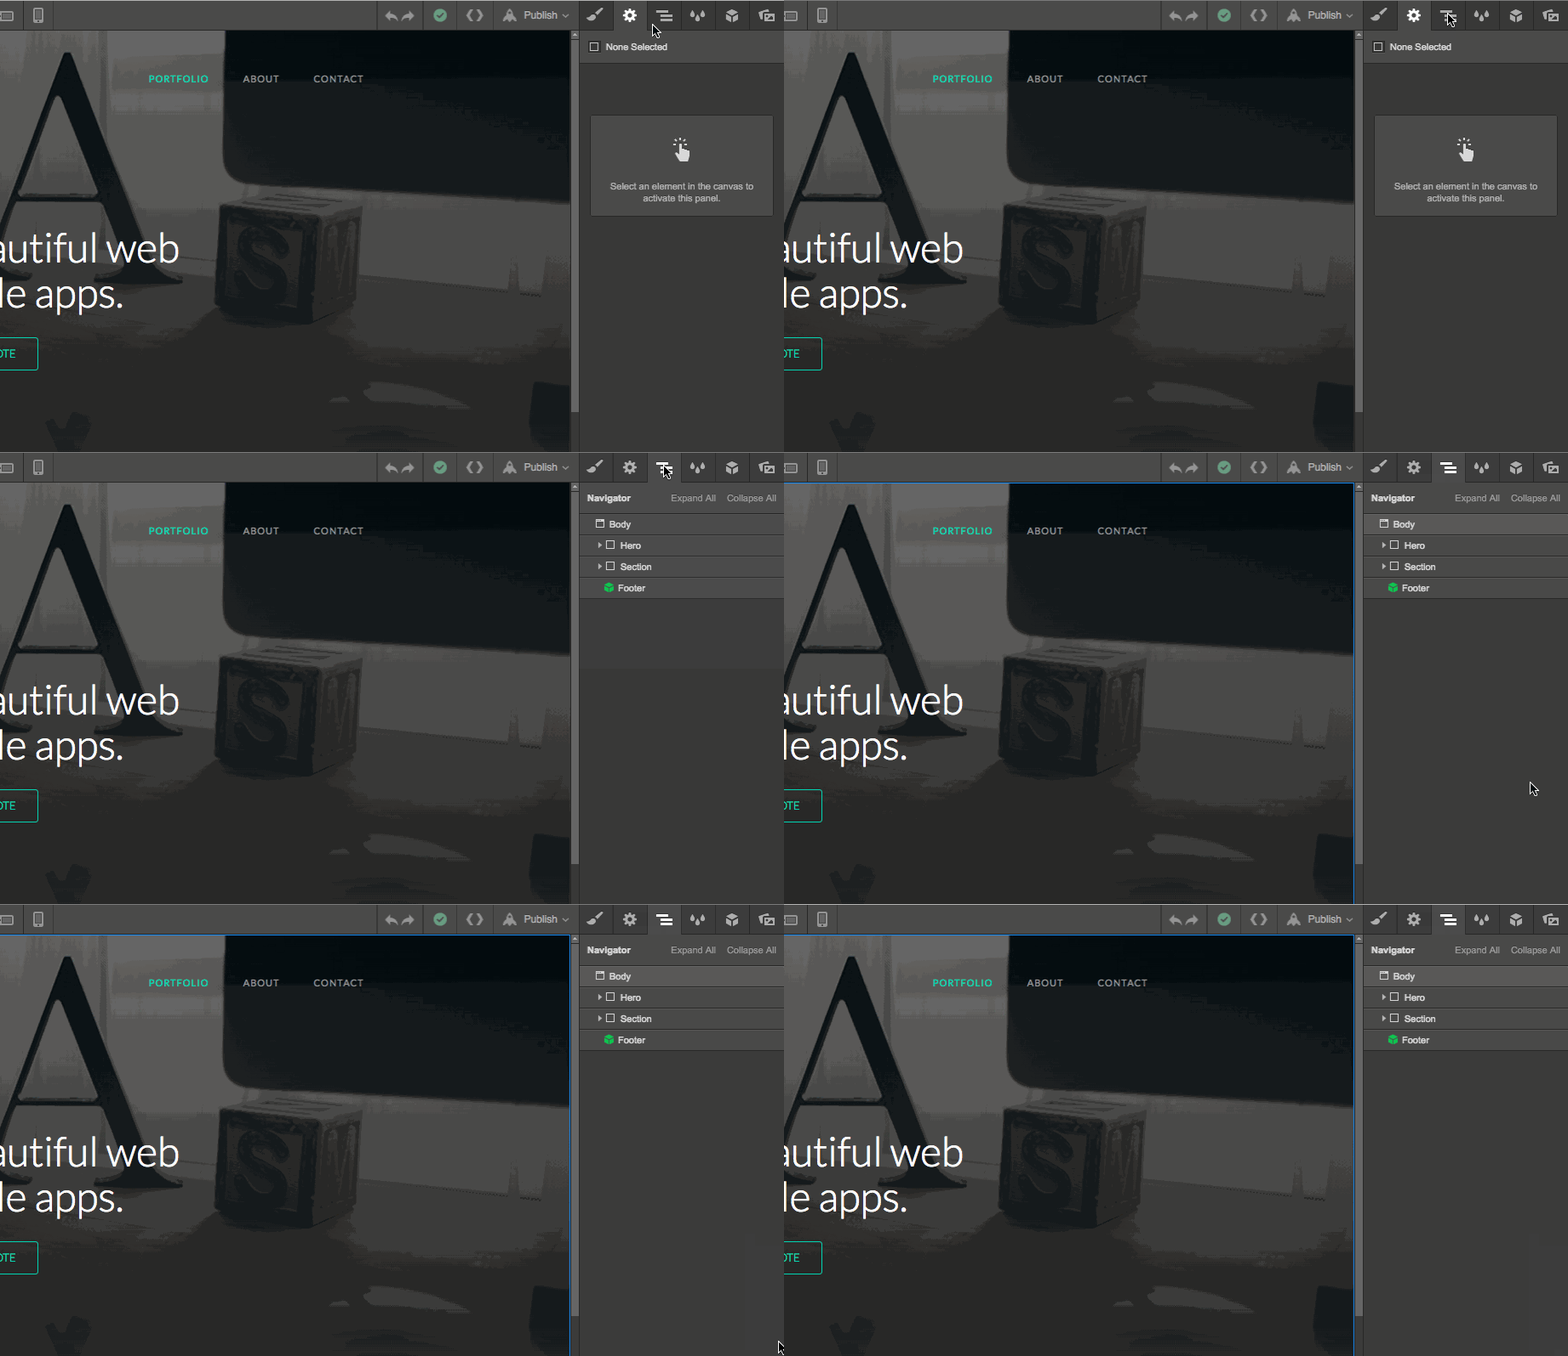
View page structure on the Navigator Panel
The Navigator Panel shows the current page's content in a hierarchical tree structure. You can select any element on a given page, including features that may be difficult to highlight on the canvas. You can also move details around in the Navigator and update the element hierarchy.
Add the Hero image
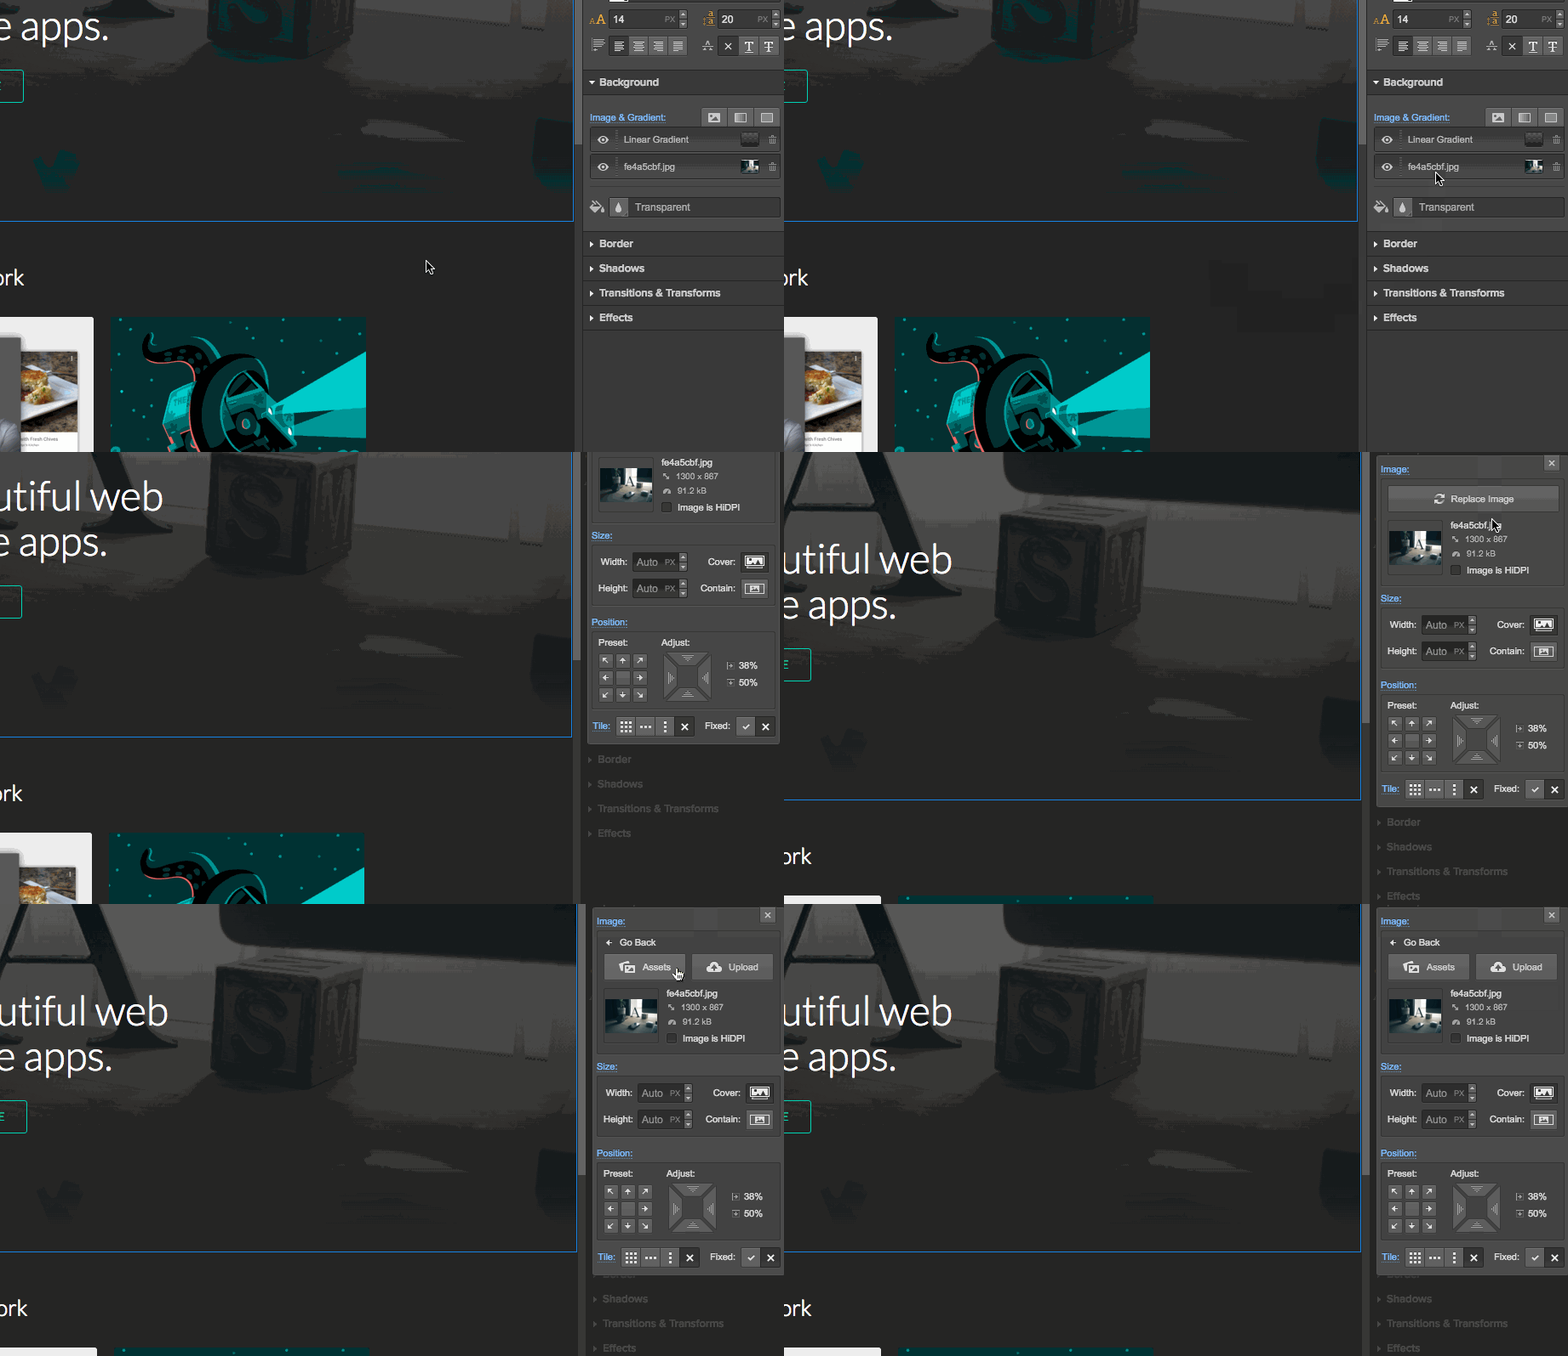
To change your hero image, select your assets (image files), and add them to the Asset Panel. After selecting the images on your computer, drag the assets directly into your project, and they’ll immediately be added.
Adjust style and fonts
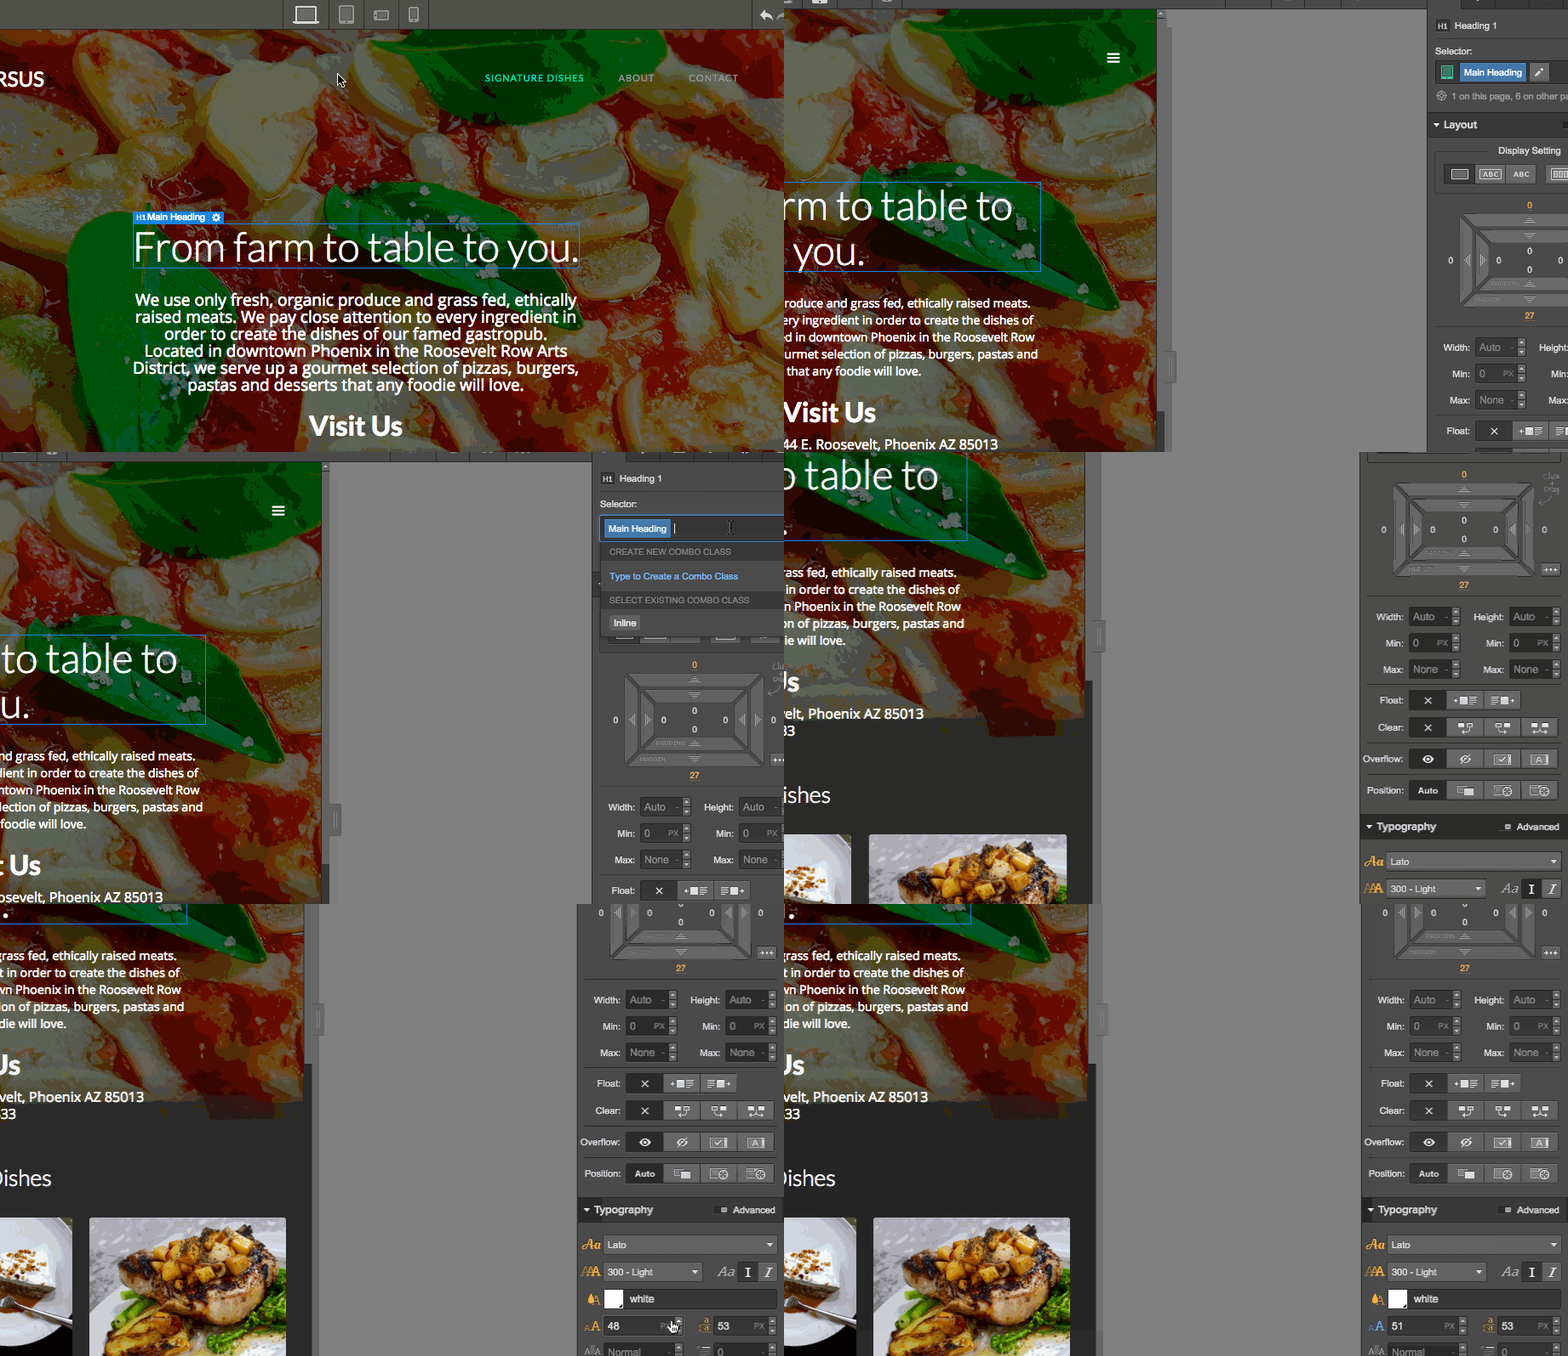
When designing a website, effective typography ensures that your content is legible, clear, and visually appealing to the user. This includes font style, appearance, and structure. It’s key to pay attention to the text, because it conveys interactive messages and a clear information hierarchy that establishes brand identity.

Project Overview
Webflow lets you view your project on multiple platforms, including tablets, desktops, and mobile phones. This means you can adjust elements and make changes across all platforms simultaneously, ensuring usability and consistency before going live.
Building an e-commerce store is an important step in cementing your brand's place in the digital world. Cutting-edge tools like Webflow save time and cost by utilizing no-code development to build polished and professional websites easily and quickly.
While Webflow is an accessible tool, you might require professional help integrating complex websites. Outliant is a fast-growing digital startup consulting company, and we aim to help businesses reach their digital potential through design and development. Our designers are Webflow experts who are skilled at creating unique, functional, and intuitive designs to reach your target audience and set you apart. So, do you have a project in mind? Let's talk!


